
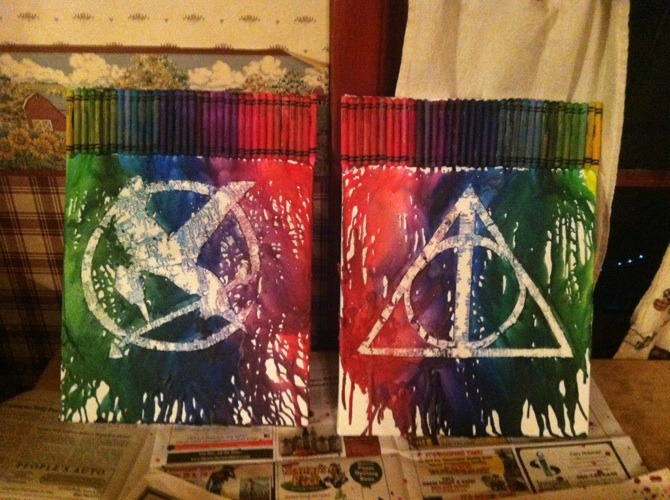
Hello friends! I know that this DIY isn't exactly new or anything, but I made these almost 2 years ago and their still one of my favorite things that hangs in my room. As a person of the internet I've seen a lot of crayon art, but I've actually never seen anything quite like these ones. I'm pretty proud of them so I thought I'd let you guys in on the secrets of how they came to be!
Supplies:
Canvas (size of your choice)
Crayons (I used a 64 pack for each)
Hot Glue Gun
Duct Tape
Exacto Knife
Hair Dryer
Sharpie/Pen
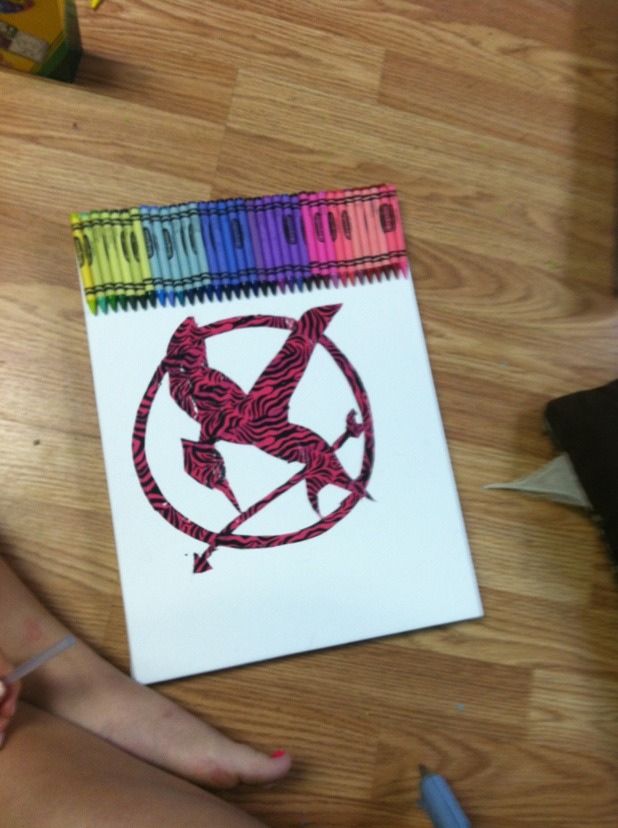
First you need to choose your design, preferably something you can figure out how to draw or trace. I actually free handed the mockingjay so I didn't need to trace it.
To make the duct tape stencil, take strips of duct tape and make a square large enough to draw your design. You should do this on a surface that you don't care about and not on the canvas itself because the Exacto Knife will ruin it. Make sure to overlap the strips so they stick together and you'll be able to peel them up in one sheet. This will actually be pretty easy if you start peeling with the first piece you laid.
Next you need to draw your design onto the duct tape. Like I said, I was able to freehand the mockingjay but I did trace a plate to get the perfect circle of the ring. I started with pen and then once I got it looking how I wanted I went over the final lines in Sharpie so they'd be easier to see. Then I went over the Sharpie lines with an Exacto Knife which made it really easy to peel away the parts that I didn't need.
I hot glued my crayons to the canvas before I moved the stencil over but I guess the order doesn't really matter as long as you leave enough room for the crayons at the top. I went with the classic rainbow but my friend who I did it with used all green and hers also looked really nice so I think that's a great way to customize!
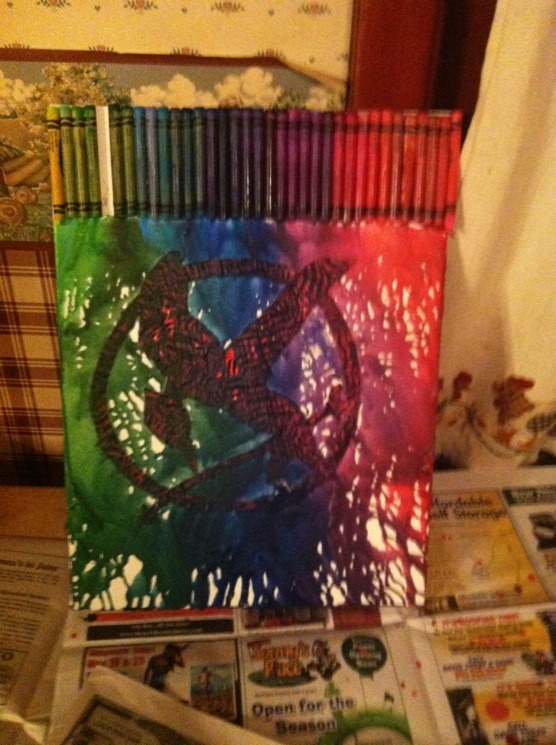
Once all your crayons are glued to the canvas and the stencil is on you can start with the blow dryer. Be careful with where you do this. We laid down newspaper to protect the table but some actually got on the walls a little (not terrible to get off if you wait till it dries but I wouldn't want to mess with white walls).
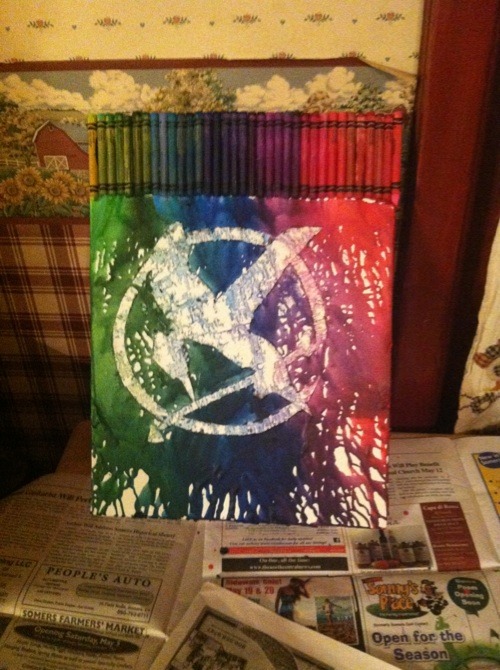
Once the wax is dry you can peel up the stencil and reveal the awesomeness underneath! A little bit of the color got behind the stencil but I think it actually looks cool like that.
Have you been doing any DIYs lately? Let me know if you try this or if you've done another project that you're proud of because I'd love to see it!

No comments:
Post a Comment